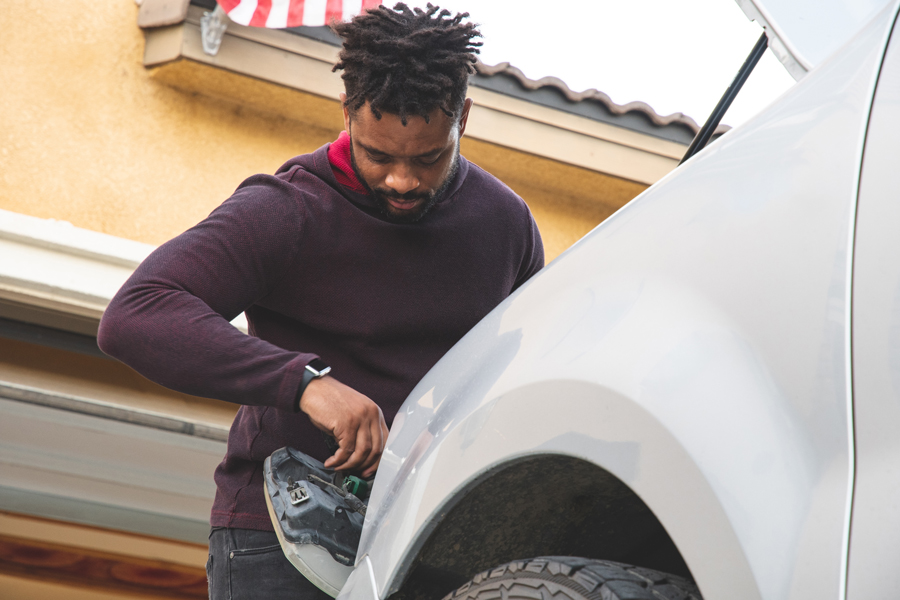
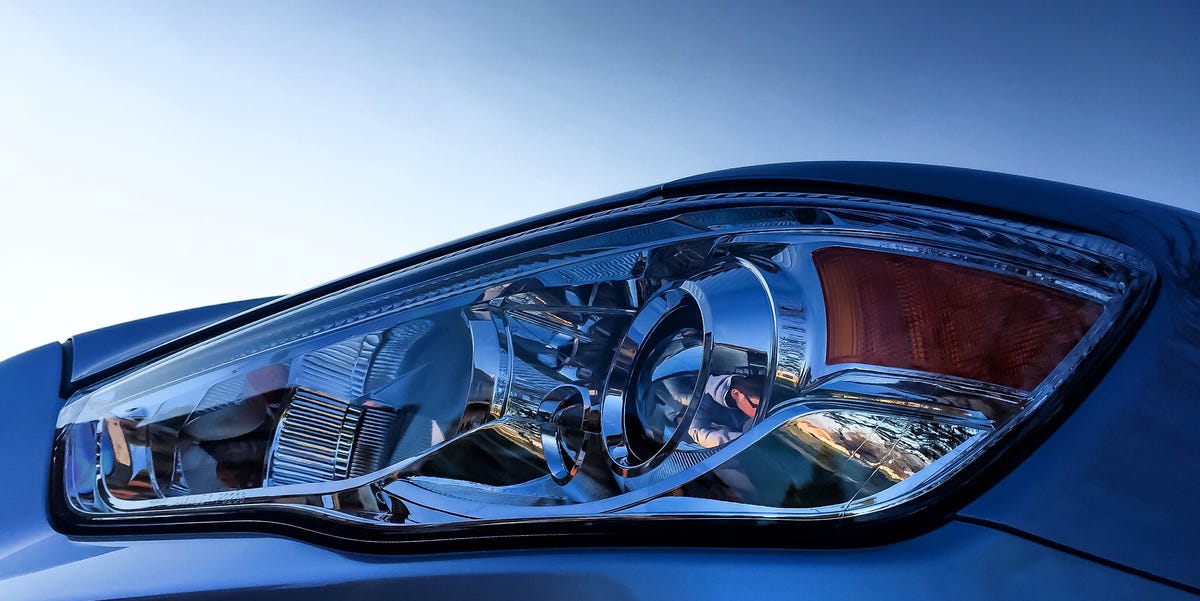
Replacing a headlight assembly can seem like a daunting task, but it doesn’t have to be. With the right tools and step-by-step instructions, anyone can replace their headlight assembly in just a few simple steps.
This article will provide you with all of the information you need to easily replace your headlight assembly yourself – no professional help is required! So, let’s get started on how to correctly and safely replace your vehicle’s headlight assembly.
Gather the Necessary Tools and Parts
Before you begin replacing your headlight assembly, it’s important to gather the necessary tools and parts. You will need a socket wrench, Phillips screwdriver, flathead screwdriver, pliers, replacement headlight assembly kit with wiring harness and bulbs as well as protective gloves for safety. Make sure that you have all of these items before beginning the process.
If any of these pieces are missing or broken then you may not be able to complete the project correctly. Check online reviews before purchasing a replacement part so that you know what kind is best suited for your vehicle model.
Finally, make sure that the new assembly fits properly before attempting installation.
Remove Existing Headlight Assembly

To replace a headlight assembly, you must first remove the existing one. The process consists of several steps that require patience and carefulness to ensure nothing is damaged during removal.
The following instructions will guide you on how to safely remove the existing headlight assembly from your car in no time: 1. Begin by disconnecting the battery cables to prevent any electrical problems or malfunctions. 2.
Open the hood and locate the headlight assembly usually situated at each end of it near the front bumper area. 3.
Check for any plastic clamps, screws, or bolts attached to them and make sure they are loosened before attempting further removal steps such as prying away sections with a flathead screwdriver or removing metal clips with pliers if necessary; be very gentle when doing this step as not to break anything while prying away plastic parts carefully. 4.
Carefully pull outwards on both sides of the headlights until they come off their mountings completely; some more force may be needed depending on how tightly secured they are but exercise caution when pulling so there’s no risk of damaging them in any way whatsoever during extraction process! 5 Once all connections have been removed successfully, take out the entire unit from its place inside the hood cavity and set aside for disposal or use later if desired – either way jobs are done now!
Prepare New Headlight Assembly for Installation
Preparing a new headlight assembly for installation is an important step in replacing the entire unit. Before beginning, make sure to turn off the vehicle’s power source and disconnect the battery if possible.
Next, carefully remove any components that may be obstructing access to the area such as grilles or interior trim pieces. Once these parts have been removed, use a screwdriver or ratchet set to loosen and detach any mounting bolts holding the old assembly in place.
Carefully pull out both electrical connectors from behind each headlight bulb before completely removing it from its mountings. Finally, take your new headlight assembly and fit it into position with all of its components properly connected until everything securely locks into place.
Install New Headlight Assembly

Installing a new headlight assembly is an important step in keeping your vehicle safe and visible on the roads. To make sure that this critical task is done properly, it’s best to follow a few simple steps.
First, you’ll need to gather all of the tools necessary for the job – this includes a Phillips screwdriver, flathead screwdriver, socket wrench set, and other tools depending on your specific model of car or truck. Next, locate the existing headlight assembly; once you’ve located it remove any screws or bolts holding it into place with either a Phillips or flathead screwdriver.
Once removed, disconnect any electrical wiring attached to the unit before setting it aside for disposal. With the old unit out of the way now comes the time for installation of a new headlight assembly – start by attaching back onto the car body using previously removed screws/bolts before connecting any wires back up as applicable – be sure to ensure connections are secure before moving onto next step! Finally, test newly installed headlights by turning them on and off ensuring proper functionality before closing up the hood & cleaning the area around the headlights for optimal visibility at night.
Following these easy steps will guarantee that your new headlight assembly is safely secured & working correctly so you can drive confidently knowing your vehicle has been upgraded in safety & style!
Conclusion
In conclusion, replacing a headlight assembly is easy and affordable. The process only takes about an hour or two depending on the vehicle, so it’s best to do the job yourself instead of paying someone else to do it for you.
All that is needed are some basic tools and a few supplies from your local auto parts store. Visit here for more detailed instructions on how to replace a headlight assembly step-by-step. With these steps, you can be sure that your headlights will be back in top condition in no time at all!


